> ## Documentation Index
> Fetch the complete documentation index at: https://hbx-docs.uplifthub.io/llms.txt
> Use this file to discover all available pages before exploring further.
# Campaign Details
export const Ui = ({children}) =>
{children}
;
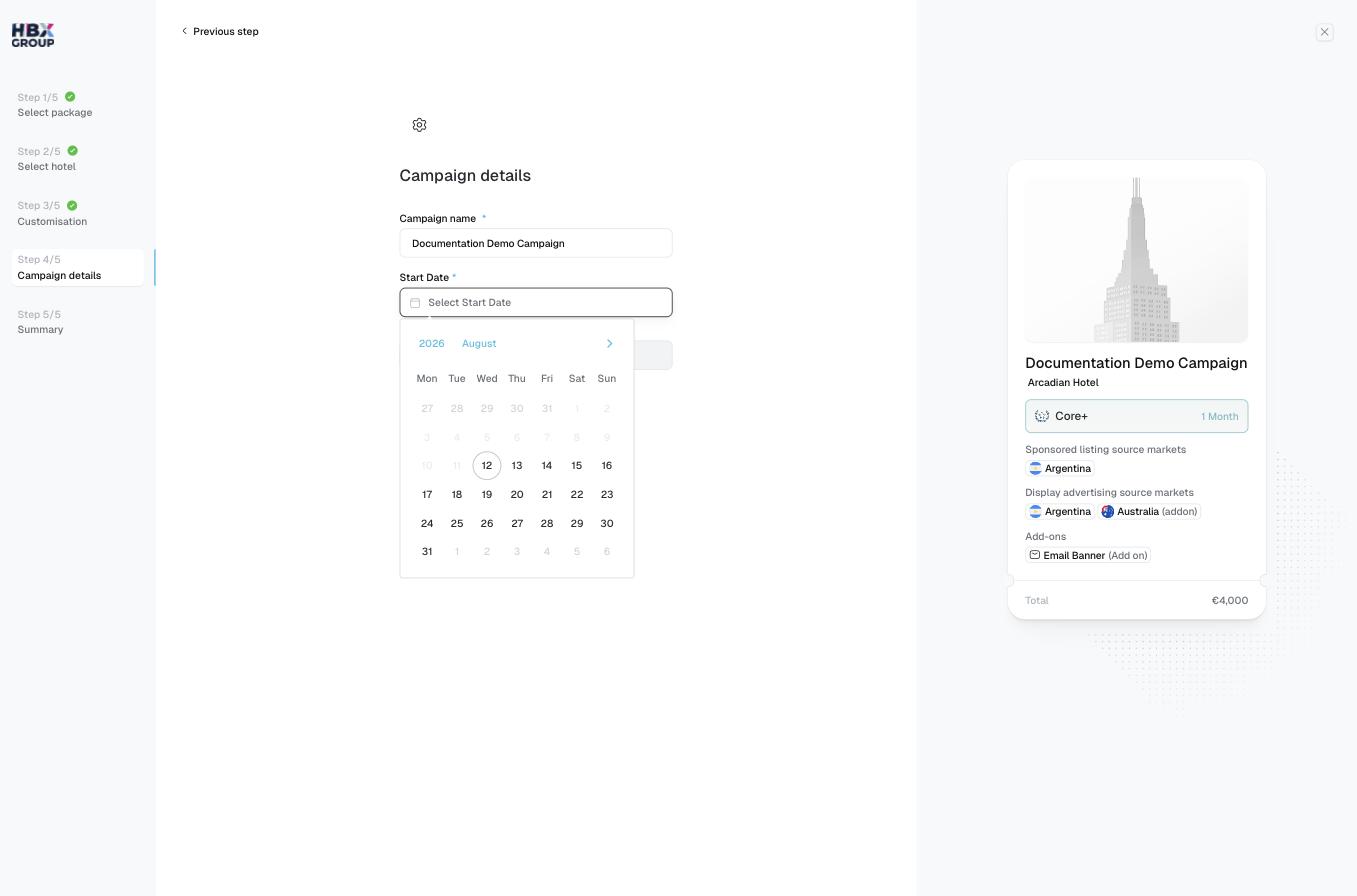
Almost there. This step captures the two details that identify and schedule your campaign — both are required before you can continue.
Enter a **Campaign name**. This is how the campaign appears in your cart and on the **Campaigns** screen, so make it clear and descriptive.
Pick a **Start Date** using the date picker. The campaign runs for the timeline you chose in step 1, starting from this date.
Click Confirm selection to review your summary.
Both fields are required — Confirm selection stays disabled until a name and start date are set.